REVIEW · BRUGES
Explore the Instaworthy Spots of Bruges with a Local
Book on Viator →Bookable on Viator
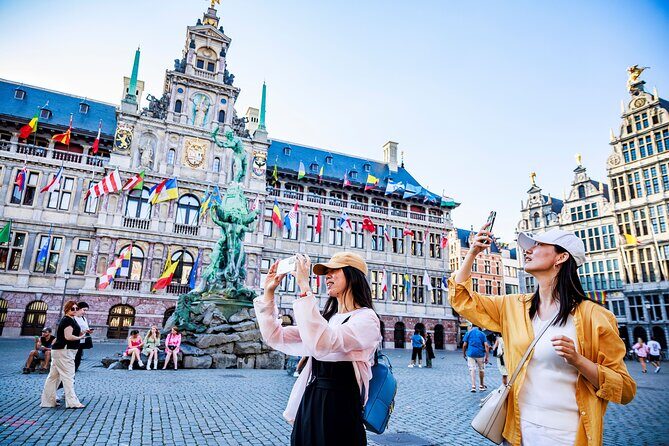
Bruges looks different when you’re framing it. This small-group, photographer-led walk is built around photo skills and classic sights like the Belfry of Bruges, so you don’t just see landmarks—you learn how to shoot them.
I love that the tour is tightly focused on Bruges’ most photogenic architecture and angles, from the UNESCO Beguinage to canal views at Rozenhoedkaai. I also like that you’ll get city context while you walk, including stories tied to what you’re actually photographing.
One consideration: you’ll be on your feet and there’s a Belfry climb, plus entry to monuments isn’t included—so plan for stairs and any paid access you want to add.
In This Review
- Key things to know for your Bruges photo walk
- Why this Bruges photo tour works for real photos
- Getting your bearings at Oostmeers and ending near Windmill The New Parrot
- Ten Wijngaerde Beguinage: UNESCO calm and photo-friendly angles
- Church of Our Lady and the Madonna with Child
- Belfry of Bruges climb: panoramic views and a bell-ringing moment
- Bonus photo stops: bridges and the Gunpowder Tower feel
- Markt: historic buildings, cafes, and easy composition
- Rozenhoedkaai canal views: where your camera finally relaxes
- Price and value: what $126.18 buys you in 90 minutes
- Who should book this Bruges photo tour (and who should skip it)
- Should you book this Bruges tour?
- FAQ
- How long is the Bruges photo tour?
- How many people are in the group?
- What is included in the price?
- What is not included?
- What stops will I see during the tour?
- Where does the tour start and end?
- Is confirmation provided when I book?
- Can I bring a service animal?
- What’s the cancellation policy?
Key things to know for your Bruges photo walk
- Small group (up to 8) means you get more attention on composition, not just a quick group shuffle.
- Camera-focused guidance helps you turn famous spots into stronger images.
- Top Bruges stops in 90 minutes: Beguinage, Church of Our Lady, Belfry views, Markt, and Rozenhoedkaai.
- Weather can change the exact route, so be ready to flex.
- Monument entries aren’t included, so you may need to budget for tickets if you want inside access.
- Not ideal for impaired mobility, since the route includes walking and a tower climb.
Why this Bruges photo tour works for real photos
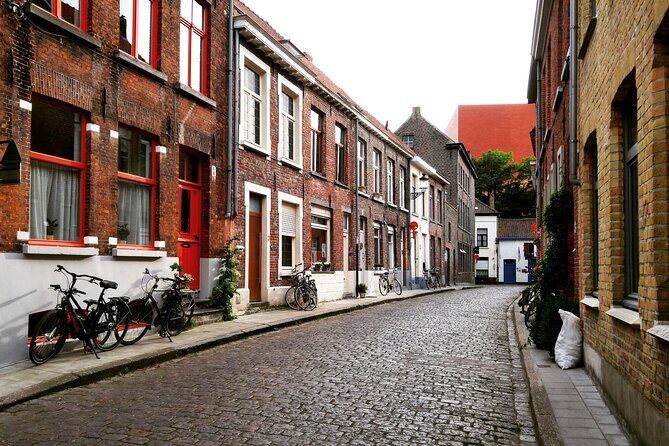
If you’ve ever left Bruges with a bunch of nice snapshots, you’ll appreciate the structure here. This is a guided photo walk where you practice seeing: angles, lines, reflections, and how to frame landmarks without making everything look flat.
I also like that the pace is flexible. The route adapts to your walking speed and what you’re most interested in, which matters in a city where cobblestones can turn a simple walk into a leg workout.
Finally, the guide isn’t just delivering facts—they’re connecting stories to buildings and viewpoints. That’s how your photos start to look more intentional, because you understand what you’re actually showing.
You can also read our reviews of more tours and experiences in Bruges.
Getting your bearings at Oostmeers and ending near Windmill The New Parrot
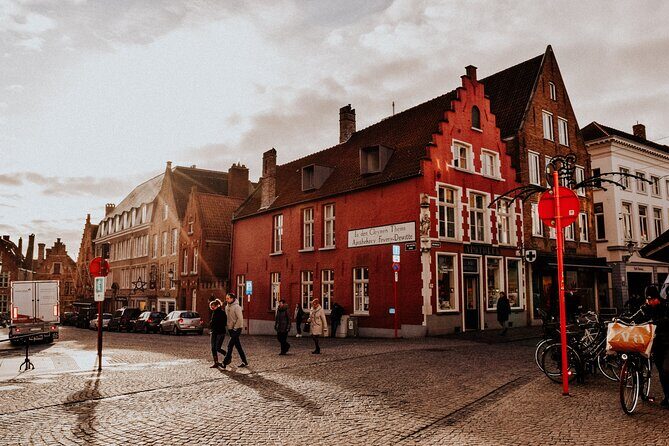
The tour starts at Oostmeers 38, 8000 Brugge, which is a solid launching point for getting to the sights without long, aimless transit. You’ll end at Windmill The New Parrot (8000 Brugge), which is handy because you can keep exploring after the walk instead of needing to retrace your steps.
This also matters because Bruges has a lot of “almost the same street, different view” moments. Starting and ending in the right zones helps you catch those quick photo chances while you’re still fresh.
You’ll have a mobile ticket, and the meeting area is near public transportation, so you’re not locked into one specific arrival plan.
Ten Wijngaerde Beguinage: UNESCO calm and photo-friendly angles
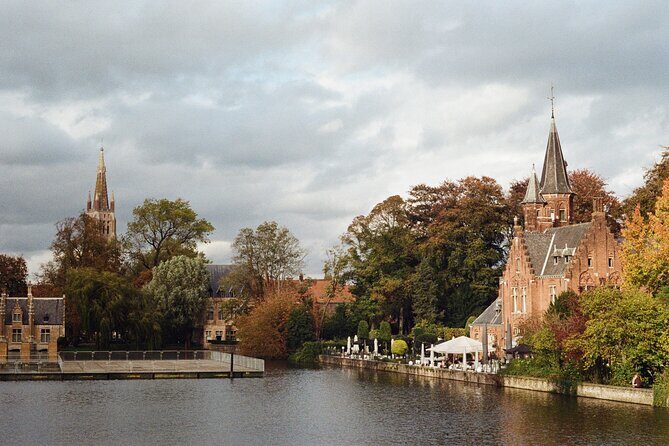
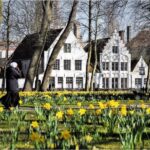
Your first major stop is Beguinage Ten Wijngaerde, a UNESCO site tied to the unique Beguine lifestyle in Bruges. This is one of those places where the mood does part of the work for you—quiet lanes, heritage buildings, and a sense of order that makes photography easier.
Why this stop is worth your time: Beguinage settings tend to photograph better than crowded squares. You can slow down, choose a composition, and take a breath while you learn how to frame doorways, pathways, and architectural rhythm.
The only drawback is practical: you’ll want to keep an eye on your footing. Even when the scenery is calm, Bruges roads and walkways still ask for attention—especially if you’re stopping often for photos.
Church of Our Lady and the Madonna with Child
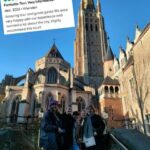
Next up is the Church of Our Lady, where you’ll get to marvel at striking architecture and see the famous Madonna with Child statue. This is the kind of landmark that looks impressive in photos even before you understand lighting—tall forms and details tend to hold up well behind a camera.
What I like about this stop is that it shifts you from “pretty streets” to “big structure.” You’ll get practice photographing verticals—how to capture the height of a church without losing the surrounding context.
If you’re a detail person, this is also a good place to slow down and aim for meaningful close-ups rather than only wide shots. The statue is a strong focal point, so it’s easier to create images with a clear subject than it is at some broad city viewpoints.
Belfry of Bruges climb: panoramic views and a bell-ringing moment
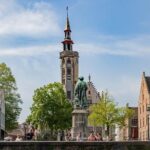
Then comes the big one: climbing the Belfry of Bruges. This stop is where the tour turns into a payoff. From the top, you’ll get panoramic city views, and you’ll have a close encounter with medieval bell-ringing.
This is the part you’ll feel in your legs. The Belfry climb is exactly why the tour is not recommended for guests with impaired mobility. If you’re able-bodied and okay with stairs, it’s also one of the best ways to experience Bruges at a different scale—less street-level guessing, more map-like understanding.
Photo-wise, tower climbs are all about light and timing. You’ll likely have brighter conditions and different shadows than at street level, so your photos won’t just look different—they’ll look more layered. Even if you’re using a phone, higher angles can make a huge difference.
Bonus photo stops: bridges and the Gunpowder Tower feel
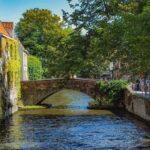
Along the route, the tour also targets other classic Instagram landmarks, including Boniface Bridge and Gunpowder Tower. These stops are useful because they fill in the “bridges to towers to canals” visual story that makes a Bruges photo set feel coherent.
Why bridge-and-tower photos work: they give you strong geometry—leading lines, repeat patterns, and clear silhouettes. They also help you avoid the common mistake of photographing only wide church fronts and canal reflections.
One practical note: your exact stops can vary with weather. In rain or harsh wind, you might get different positioning or timing, but the focus stays on getting the best shot you can in real conditions.
Markt: historic buildings, cafes, and easy composition
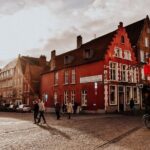
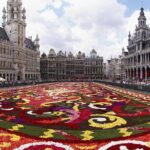
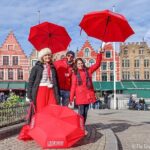
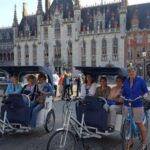
You’ll then step into Markt, the heart of Bruges. This is where you see the city’s public life with historic buildings around you, plus plenty of places to pause with a drink or snack if you’re taking a moment (food and drinks aren’t included on the tour).
Markt is great for photos because it’s full of structure. You’ll find building facades that frame the square, plus street details you can use as foreground elements to add depth.
The only thing to watch: since it’s a central hub, you’ll want to be ready to shoot fast. If there’s crowd movement, grab a clean angle, then switch to a tighter crop for your best results.
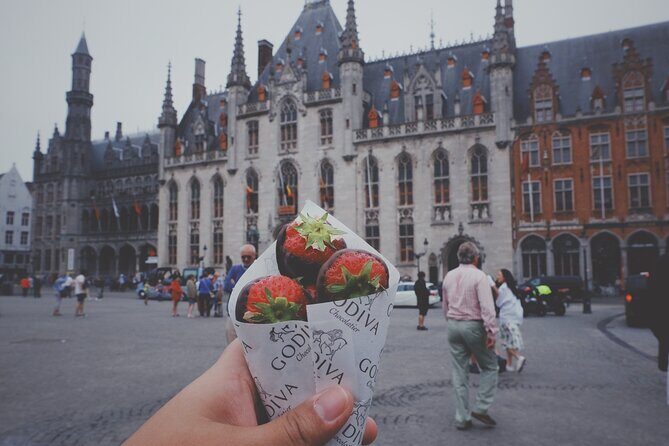
Rozenhoedkaai canal views: where your camera finally relaxes
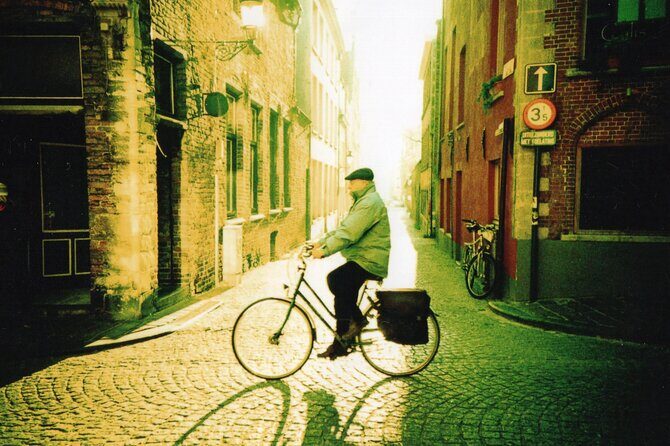
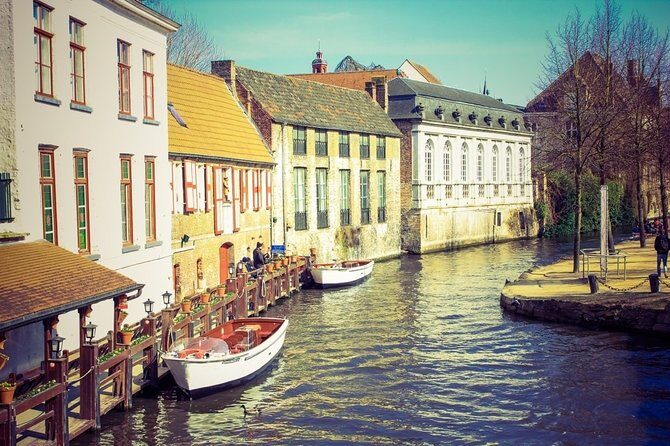
The tour ends with Rozenhoedkaai, widely considered Bruges’ most photographed spot, and for good reason. The canal views here are instantly recognizable, and the setting practically hands you a composition: waterline, buildings, and that classic Bruges atmosphere that holds up in photos.
This stop is also ideal for practicing “less is more.” When the scenery already gives you structure, your job becomes removing distractions—tight framing, careful horizon control, and choosing a subject that stands out.
If you’re using a phone, Rozenhoedkaai is still worth it. Canal scenes often look flat if you don’t control angle, but the guide-style photo approach helps you get more dimension by changing your viewpoint instead of just zooming in.
Price and value: what $126.18 buys you in 90 minutes
At $126.18 per person for about 1 hour 30 minutes, you’re paying for a focused experience: a small group (up to 8), a local host, and photo guidance tied to real Bruges landmarks. This isn’t the cheapest way to see the city, but it’s not trying to be either—it’s selling results and direction.
Here’s the value logic that makes the price make sense:
- You get time savings. You won’t spend your whole walk figuring out which corner gives the best shot.
- You get skill-building. The goal is not just photos now, it’s better photos later.
- You get cultural context while you walk, tied to architecture and what you’re actually looking at.
What can reduce value for some people: entry tickets for museums and monuments are not included, and food and drinks aren’t included. If you plan to add a bunch of paid entrances beyond what’s already included in the walk, your total cost will rise.
Also, because the tour is short, it’s best if you want a curated hit list rather than a slow, wandering day. If your ideal Bruges trip is hours of drifting, you may feel slightly “rushed” unless you’re comfortable with an efficient pace.
Who should book this Bruges photo tour (and who should skip it)
I think this is a strong fit if you:
- want Instagram-worthy Bruges sights without guesswork
- enjoy photography and want quick, practical improvement
- like walking with a local who can connect sights to stories
- prefer a small-group experience over big crowds
It’s less ideal if:
- you need a highly accessible route (walking and tower stairs are part of the plan)
- you don’t care about photo composition at all
- you want a long, free-form tour where you roam for hours without stopping
It also makes sense for couples and families who want a shared activity. A small group tends to feel friendlier, especially when the guide is actively shaping the experience.
Should you book this Bruges tour?
Yes—if you want more than pretty scenery. Book it if you’re after strong photo results, a compact route of the most famous Bruges landmarks, and the benefit of a local guide who can explain what you’re seeing as you shoot it.
Think twice if your priority is purely relaxation with no climbing and no paid entrances. Also, if you’re traveling with limited mobility, you should look for a more accessible walking plan since the Belfry climb is a key part of the experience.
If you fall somewhere in the middle—happy to walk, curious about architecture, and want a photo boost—this is a fun, efficient way to see Bruges while learning how to capture it.
FAQ
How long is the Bruges photo tour?
It runs for about 1 hour 30 minutes.
How many people are in the group?
The tour is limited to a maximum of 8 travelers.
What is included in the price?
The guide service is included (a local who wants to show you his city). A mobile ticket is also provided.
What is not included?
Personal expenses and food, drinks, or snacks are not included. Entry tickets for public transportation, museums, and monuments are also not included.
What stops will I see during the tour?
You’ll visit Beguinage Ten Wijngaerde, the Church of Our Lady, the Belfry of Bruges, Markt, and Rozenhoedkaai. The route also targets well-known landmarks like Boniface Bridge and Gunpowder Tower.
Where does the tour start and end?
It starts at Oostmeers 38, 8000 Brugge, Belgium and ends at Windmill The New Parrot, 8000 Brugge.
Is confirmation provided when I book?
Yes, confirmation is received at the time of booking.
Can I bring a service animal?
Service animals are allowed.
What’s the cancellation policy?
You can cancel for free up to 24 hours in advance for a full refund. If you cancel less than 24 hours before the experience starts, you won’t receive a refund.